


· By Webtec
The Best Dehydrated Bananas Recipe That Actually Works
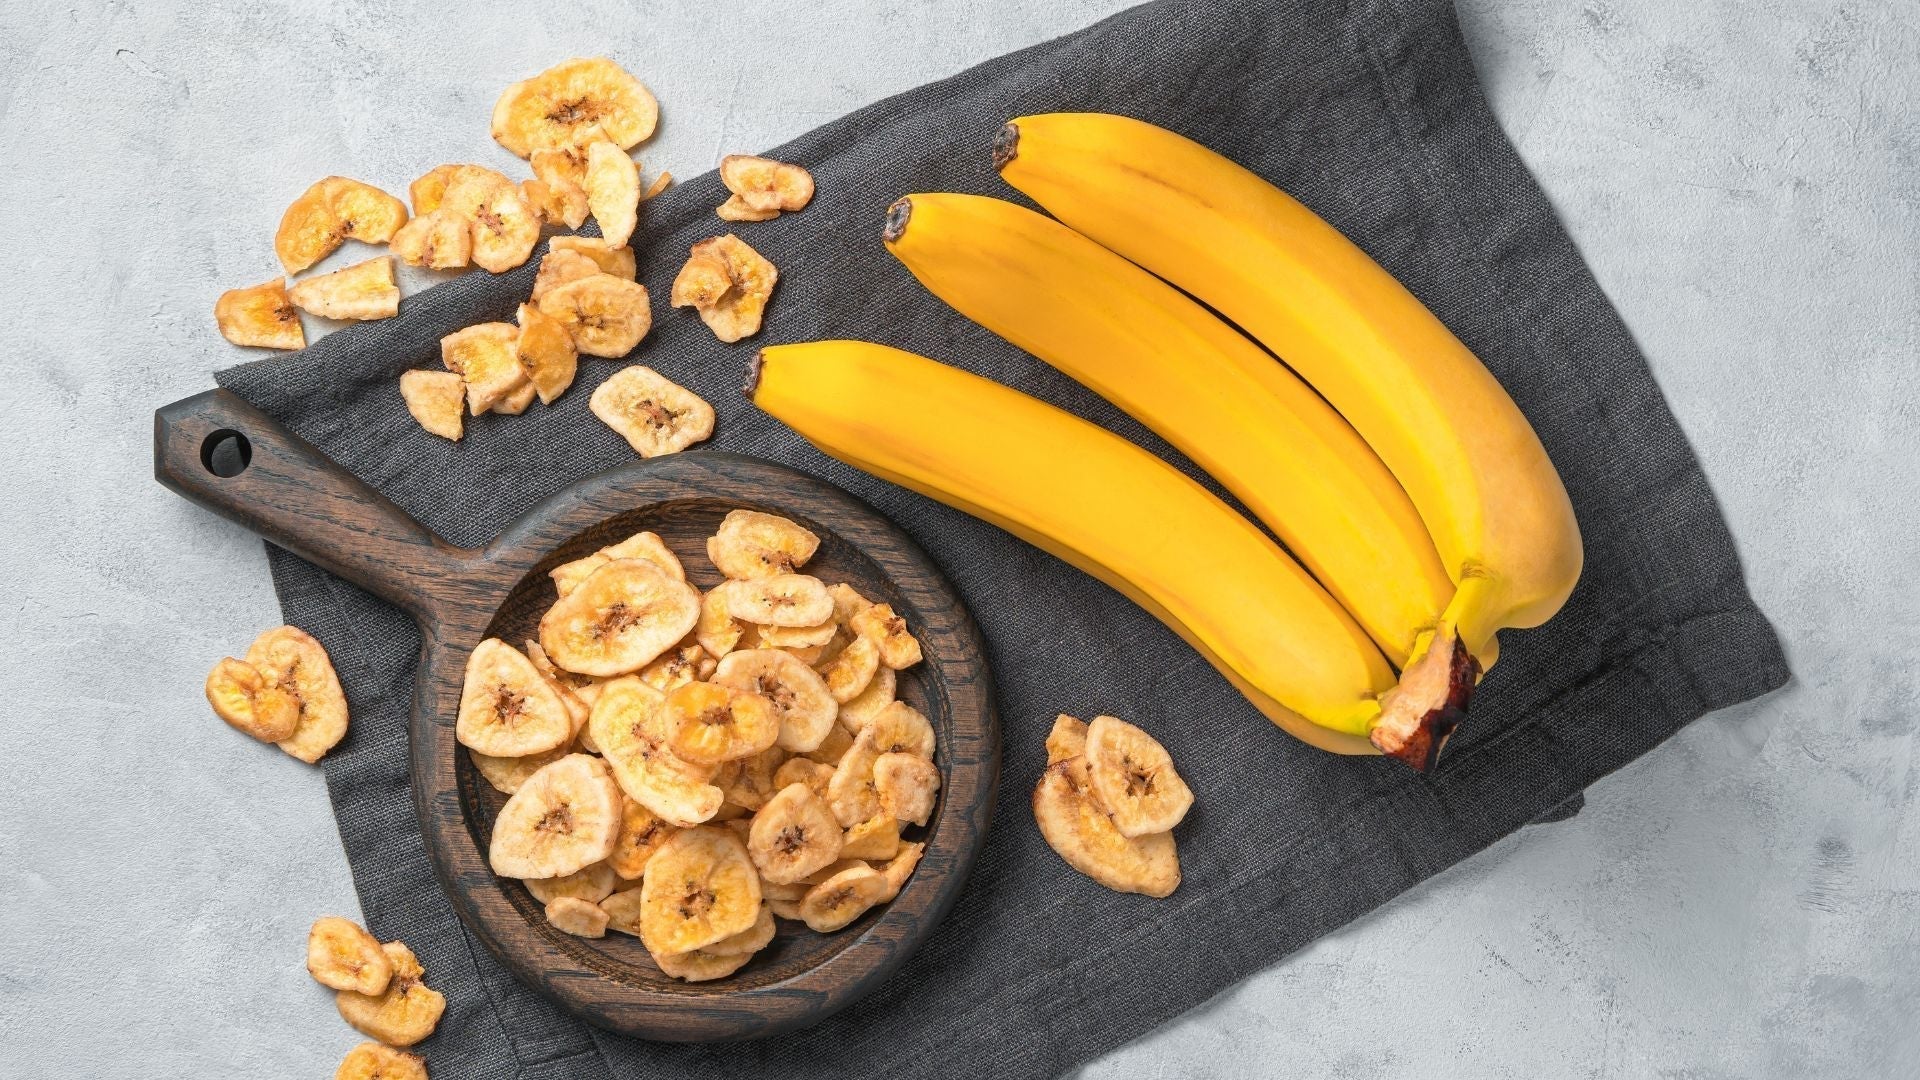
Making dehydrated banana recipes at home is actually super easy once you figure out the basics. It takes a while, sure, but most of that time you're just waiting around. Plus, you know exactly what's in them - just bananas.
This dehydrated banana recipe doesn't need any fancy equipment either. You can start out with a regular oven, and it works fine.
What You Actually Need
Don't overthink this. Most kitchens already have everything required.
Equipment (pick one):
-
Regular oven - works great, what most people start with
-
Food dehydrator - nice if you plan to do this regularly
-
Air fryer - surprisingly good for small batches
Ingredients:
-
Bananas (duh)
-
Lemon juice is if you want, but optional
That's it. Seriously. Sometimes people add cinnamon or whatever, but the basic recipe is just bananas.
Getting the Bananas Right
This part actually matters. Too green and they never get sweet enough. Too ripe and they turn into mush. The sweet spot is yellow with maybe a few brown spots starting to show up.
They should give a little when you press them, but not be all squishy. If they're rock hard, wait a day or two. If they're already mushy, make banana bread instead.
The Actual Dehydrated Bananas Recipe
Getting Ready
Wash your hands, clean your knife… the basic kitchen stuff. Peel the bananas and slice them about a quarter-inch thick. Try to keep the slices pretty even - thick ones take forever to dry and thin ones get too crispy too fast.
Some people swear by dipping the slices in lemon juice mixed with water. Keeps them from turning brown and adds a tiny bit of tartness. Mix a tablespoon of lemon juice with a cup of water, dip quickly, pat dry. Skip this if you want, not a big deal.

Using Your Oven
Set it to the lowest temperature it'll go. Usually, that's around 170°F. If it only goes down to 200°F, crack the door open with a wooden spoon.
Put parchment paper on your baking sheets. Don't skip this unless you enjoy scraping banana bits off metal. Arrange the slices so they're not touching each other.
Stick them in the oven. It usually takes about 6-8 hours. Flip them halfway through. Yeah, it's a long process, but you're not doing much actual work.
If You've Got a Dehydrator
Way easier. Set it to 135°F, and put the banana slices on the trays with some space between them. Takes 8-12 hours, depending on how thick you cut them and how chewy you want the final product.
Check them every few hours once you hit the 6-hour mark. They're done when they're leathery but not brittle.
Air Fryer Method
This one's pretty new but works surprisingly well. Set it to 135°F or whatever the lowest setting is. It takes about 3-4 hours, but you have to check on them more often.
Flip them every hour or so. The air circulation speeds things up, but you can't just ignore them like with the other methods.
How to Tell When They're Done
They should feel like leather - bendy but not sticky. Press one between your fingers. If it feels wet or leaves residue, keep going. If it cracks when you bend it, you went too far.
Most people like them somewhere in the middle - chewy but not tough. It takes some trial and error to figure out your preference.
Storing Them
Wait until they're completely cool before you put them away. Hot bananas in a sealed container = mold. Not fun.
Mason jars work great. So do those plastic containers with the tight lids. They'll keep for months if you store them right.
Put them somewhere cool and dry. If you live somewhere humid, throw in one of those little silica packets from vitamin bottles. Helps absorb moisture.

Are Dehydrated Bananas Good for You?
Yeah, dehydrated bananas are actually pretty healthy. All the good stuff from regular bananas gets concentrated - potassium, fiber, and vitamin B6. Great for energy without the sugar crash you get from candy. But they're way more satisfying than most snacks, so a little goes a long way.
Kids love them, and they're definitely better than fruit snacks or other processed junk.
What to Do When Things Go Wrong
There are plenty of mistakes that can happen with this.
Here's what usually happens:
-
Too chewy? They need more time. Just put them back in and check every hour.
-
Too crispy and breaking apart? You overdid it. Lower the temperature next time and watch them more carefully.
-
Some pieces done, others not? Your slices weren't even enough. Pick out the done ones and keep going with the rest.
-
Dark or burnt looking? The temperature was too high or you started with bananas that were too ripe.
Other Ways to Use Them
Great for snacking, obviously, but they work in other stuff too. Chop them up and put them in oatmeal or yogurt. Throw them in a trail mix. Blend them into smoothies for extra banana flavor.
If you soak them in warm water for a few minutes, they plump back up and work in baking. They’re good for muffins or banana bread. Some people dip them in melted chocolate. Fancy but still pretty healthy compared to regular candy.
Switching It Up
The basic recipe is great, but you can mess around with it. Sprinkle some cinnamon on before dehydrating. Add a tiny bit of vanilla extract. Some people even add coconut flakes in the last hour.
Keep it simple, though. The banana flavor is the star here.

Making it Easier for You
Making dehydrated bananas at home is just the start, but sometimes you want something a bit more exotic without all the work
Kooky is a purpose-driven brand that's shaking up the dried fruit world with flavors you won't find anywhere else. They're the first and only dried fruit company in the UK to be certified B Corp, which means they actually care about doing business the right way
If you find that dehydrating bananas is too much of a hustle, then check out our dried banana collection, or if you want to try out more flavours, you can try our Kooky Try Me Box.
